Ever stared at your smart clock‘s dashboard settings, wondering if you’ve accidentally hacked into NASA? You’re not alone. With endless buttons and configurations staring back at you, it’s easy to get overwhelmed—or worse, break something by accident. But fear not! We’re diving deep into “clock dashboard settings” so you can turn your smart clock from a glorified timepiece into the brain of your home automation system.
In this guide, we’ll cover:
- The pain points of navigating complex dashboards.
- A step-by-step walkthrough on optimizing clock dashboard settings.
- Best practices to make sure your smart clock works smarter, not harder.
- Real-world examples of people who crushed their setups (and some hilarious fails).
Table of Contents
- Key Takeaways
- Why Are Clock Dashboard Settings So Complicated?
- How to Master Your Clock Dashboard Settings
- Top Tips for Optimizing Smart Clocks
- Case Studies: Lessons Learned from Real Users
- FAQs About Clock Dashboard Settings
- Conclusion
Key Takeaways
- Understand the core functions of your smart clock’s dashboard before tweaking.
- Always prioritize essential features over flashy extras to prevent confusion.
- Leverage automation integrations like voice assistants or routines for maximum efficiency.
- Test changes incrementally to avoid catastrophic setup failures.
Why Are Clock Dashboard Settings So Complicated?
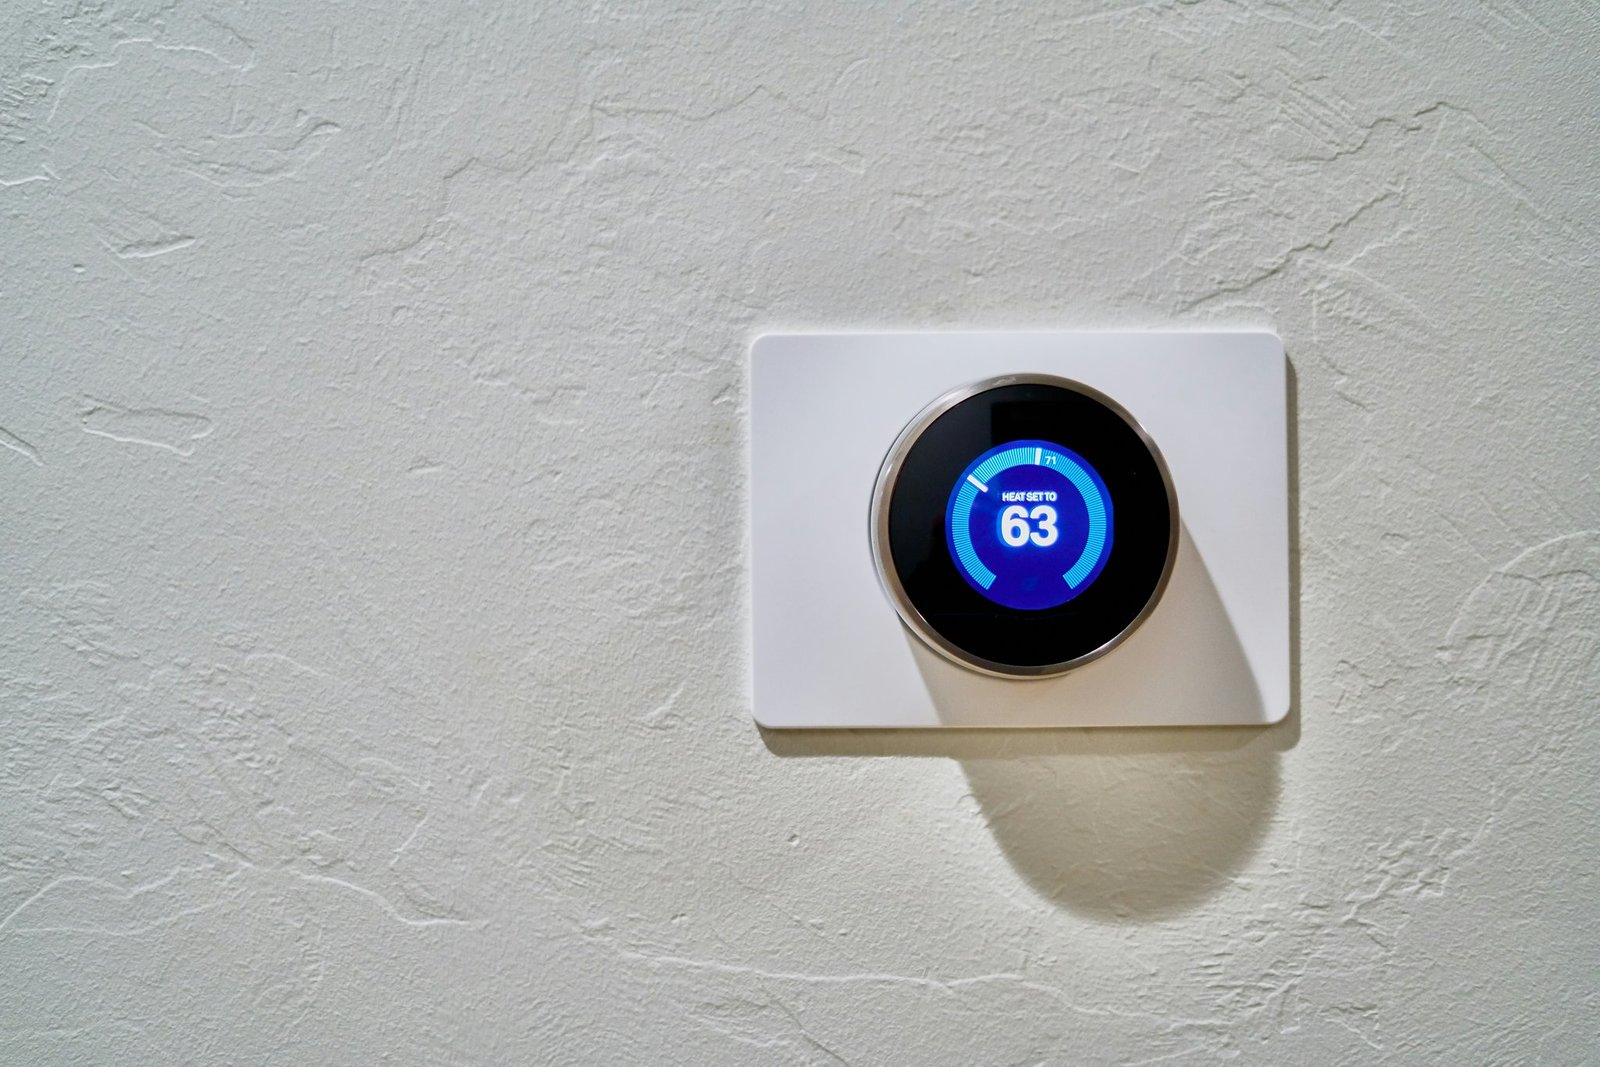
Image Caption: That “smile” emoji really doesn’t help when you’re lost in menu options.
I once spent an hour trying to sync my smart clock with Alexa because I misclicked during the initial dashboard setup. RIP productivity that day. Sound familiar? Many users face similar frustrations due to poorly designed interfaces or overly technical jargon. However, the good news is that mastering these settings isn’t impossible—it just requires patience and a bit of insider knowledge.
Grumpy Me: “Does anyone actually read all those tooltips?”
Optimist Me: “Sure do! They hold clues to unlocking your dream smart home!”
How to Master Your Clock Dashboard Settings
Step 1: Familiarize Yourself with the Layout
Start by exploring each tab without making any changes. Note where key sections like alarms, timers, notifications, and integrations are located. Think of it as learning how to drive a car—you wouldn’t hit the gas pedal before figuring out where the brakes are!
Step 2: Customize Essential Settings First
Prioritize basic functions such as setting up alarm schedules, adjusting brightness levels, or enabling wake-up tunes. Don’t dive straight into advanced integrations unless you’re comfortable troubleshooting later.
Step 3: Integrate with Other Devices
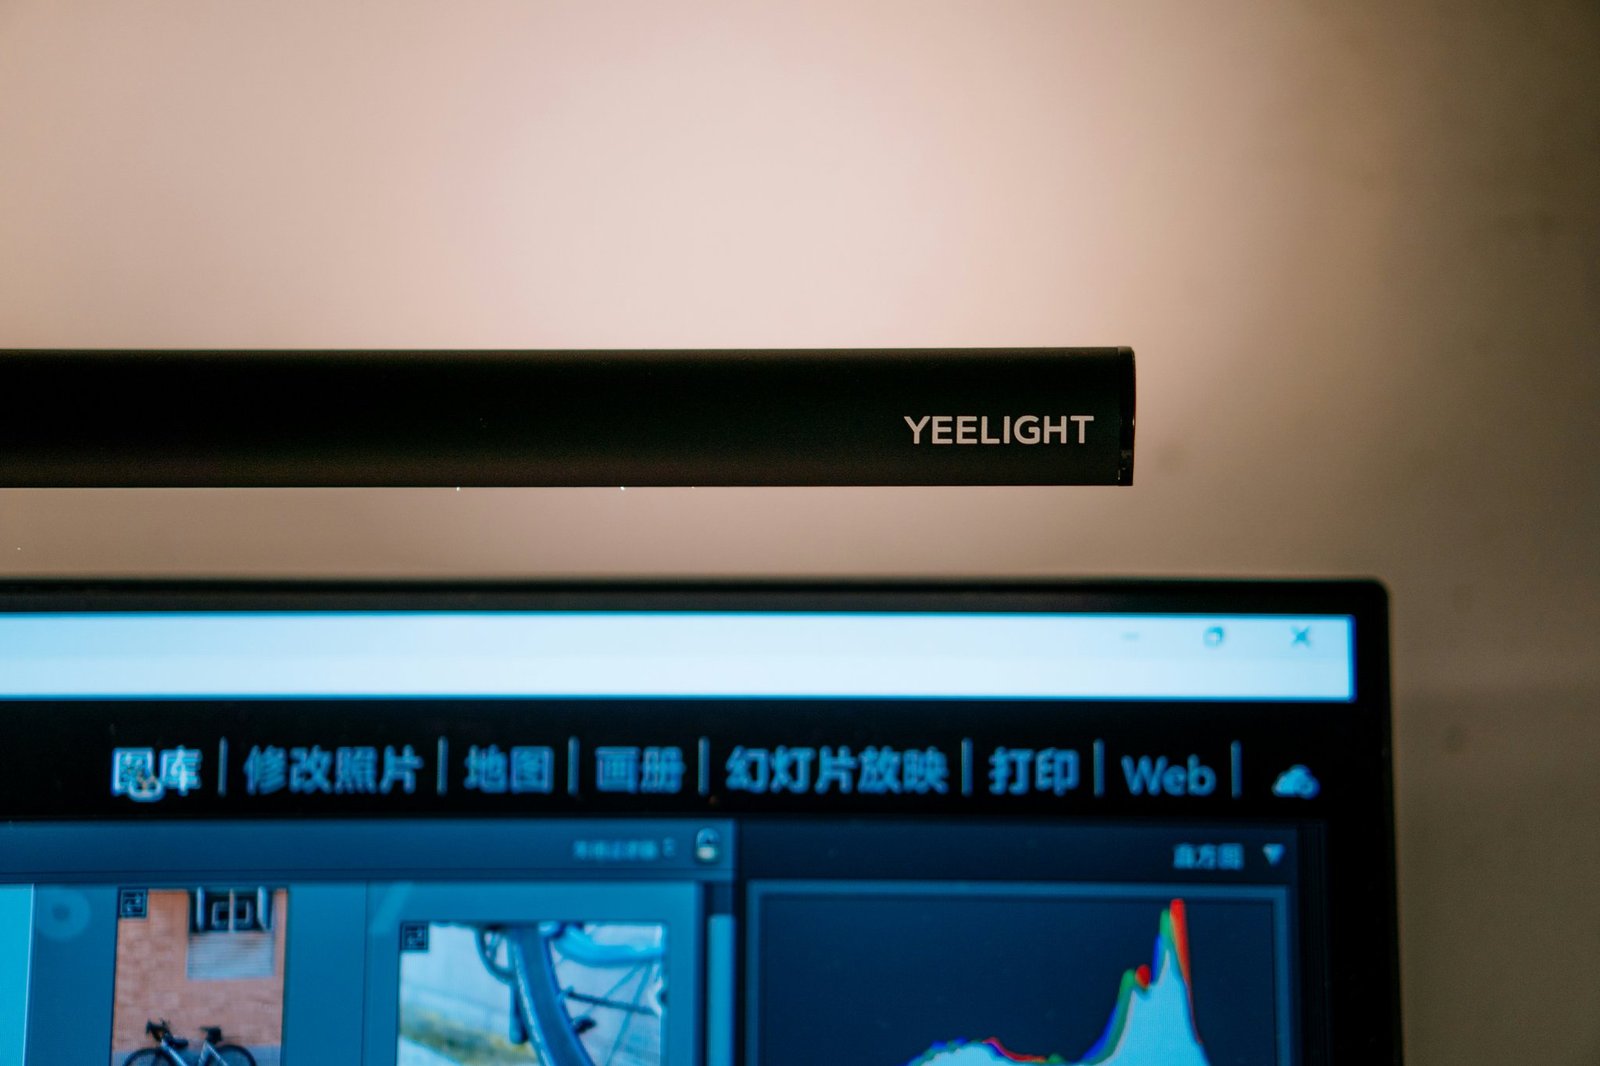
This is where things get fun. Connect your smart clock to IoT devices like lights, thermostats, or coffee machines via platforms like Google Home or Apple HomeKit. Just remember to test everything thoroughly to ensure seamless operation.
Top Tips for Optimizing Smart Clocks
- Enable Automation Routines: Automate daily tasks like dimming lights at night or turning off appliances after bedtime.
- Use Voice Commands Wisely: Pair your clock with a voice assistant to simplify control through hands-free commands.
- Regularly Update Firmware: Stay ahead of bugs and security vulnerabilities by keeping software current.
- (Bad Tip Alert): Never try resetting your device midway through a firmware update. Yes, I learned this the hard way—cue three hours waiting for customer support.
- Simplify Notifications: Limit alerts to only what matters most; no one needs constant reminders about low battery status.
Case Studies: Lessons Learned from Real Users
Case Study #1: Sarah’s Morning Bliss Routine
Sarah integrated her smart clock with Philips Hue lights and Sonos speakers. Now, every morning starts with gentle music fading in while her room brightens gradually. Result? A stress-free wake-up experience.
Fail Story: Dan’s Dashboard Disaster
Image Caption: When life gives you lemons, sometimes they short-circuit your gadgets.
Dan decided to experiment with custom scripts in his clock’s developer mode. Instead of creating a masterpiece, he ended up bricking the entire device. Moral of the story? Stick to official documentation unless you’re ready to embrace chaos.
FAQs About Clock Dashboard Settings
What does ‘dashboard’ mean in smart clocks?
The dashboard refers to the user interface where you configure and manage various features and integrations of your smart clock.
Can I use multiple apps with my smart clock?
Yes, but compatibility depends on brand and model. Check product specifications before purchasing accessories.
Why won’t my smart clock connect to Wi-Fi?
This issue often stems from outdated firmware or incorrect network credentials. Try restarting both devices and checking router settings.
How secure are smart clock integrations?
Reputable brands encrypt data transmissions and allow two-factor authentication. Always review privacy policies to stay informed.
Conclusion
Navigating clock dashboard settings may feel daunting initially, but breaking down the process step-by-step makes all the difference. From automating mundane chores to crafting personalized routines, smart clocks can revolutionize your daily life—if you let them. Keep practicing, stay curious, and don’t hesitate to reach out to online forums whenever you hit roadblocks.
Like loading Windows 95, mastering tech takes time—but your patience will pay off.